Session timeout warning
You session will expire soon.
Do you want to extend your session?
Time left
This guide shows the process of enabling JavaScript in Google Chrome.
Note: These screenshots are taken in Chrome on Windows but the process is identical on Mac and Linux computers.
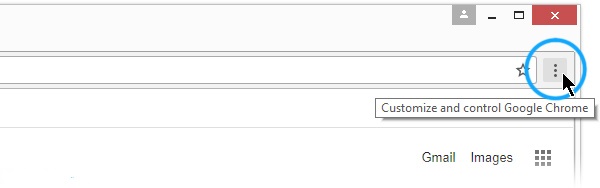
This will reveal a menu with options. One of them will be named "Settings".
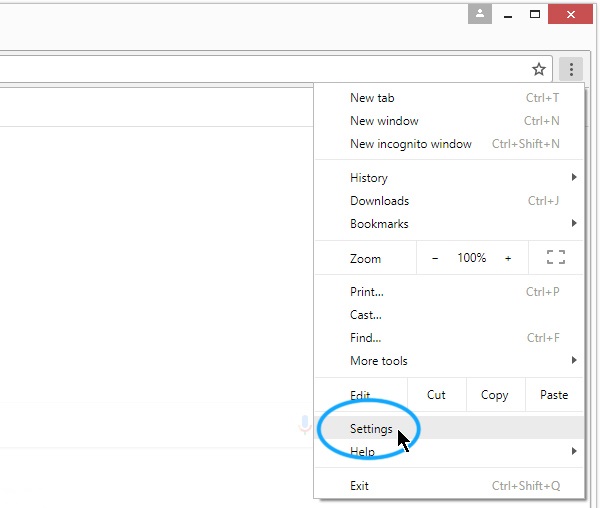
The Settings screen will now appear.
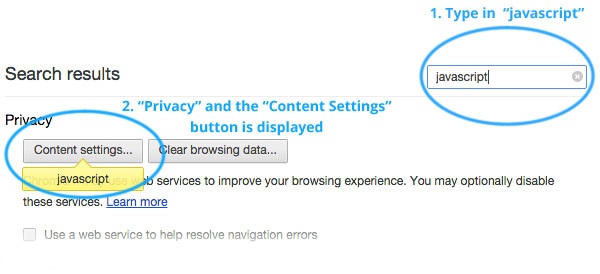
Type "JavaScript" and Chrome will start to change the results shown on the settings page. It will reveal the "Privacy" section and highlight the "Content settings..." button with the yellow "JavaScript" callout.
Click the "Content settings..." button.
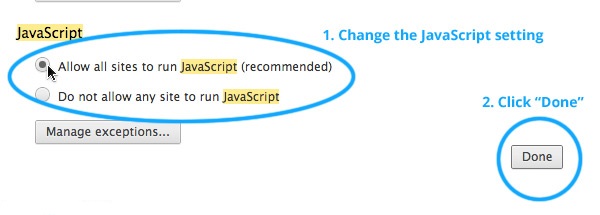
Select "Allow all sites to run JavaScript" to enable/activate JavaScript, and then click the "Done" button to confirm..


The English Access Scholarship Program is sponsored by the U.S. Department of State with funding provided by the U.S. Government and administered by FHI 360.